So lately I have been making some camera strap covers so I thought that I would make a quick tutorial. I think these are really fun to make but I guess I can only use so many.
Here is a list of what you will need:
Batting (I used natural cotton batting)
Two Coordinating Fabrics
Coordinating Thread
This tutorial is for a camera strap with each side of the strap having a different fabric.
1. Cut two strips of batting each measuring 3 by 24 inches
2. Cut one strip from each fabric measuring 3 by 28 inches
3. Fold the 3 inch side of your fabric edge in by 1 1/2 inches, I used a seam gauge to do this. Press well by using a steam setting on your iron. To this to both of your fabric pieces.
4. Center your batting between the two ends you pressed in (the batting will be slightly shorter than the length of your pressed fabric).
5. Sew across the ends you folded in to secure your batting and fabric together. I prefer to sew mine in three spots on each end, usually stitching close to the folded fabric edge, the raw end, and somewhere in between.
6. Ruffle - optional
A. Cut a strip of fabric 2 1/2 inches the width of your fabric
B. Surge around all the edges.
C. Mark the center of your strip on the right side of the fabric, I used a
Pilot FriXion highlighter. Check out my post about this highlighter
here.
D. Set your sewing machine to the longest stitch length possible. Sew on your center marking making sure you DO NOT backstitch.
E. Pull on your bobbin thread (the bottom thread) to gather your fabric.
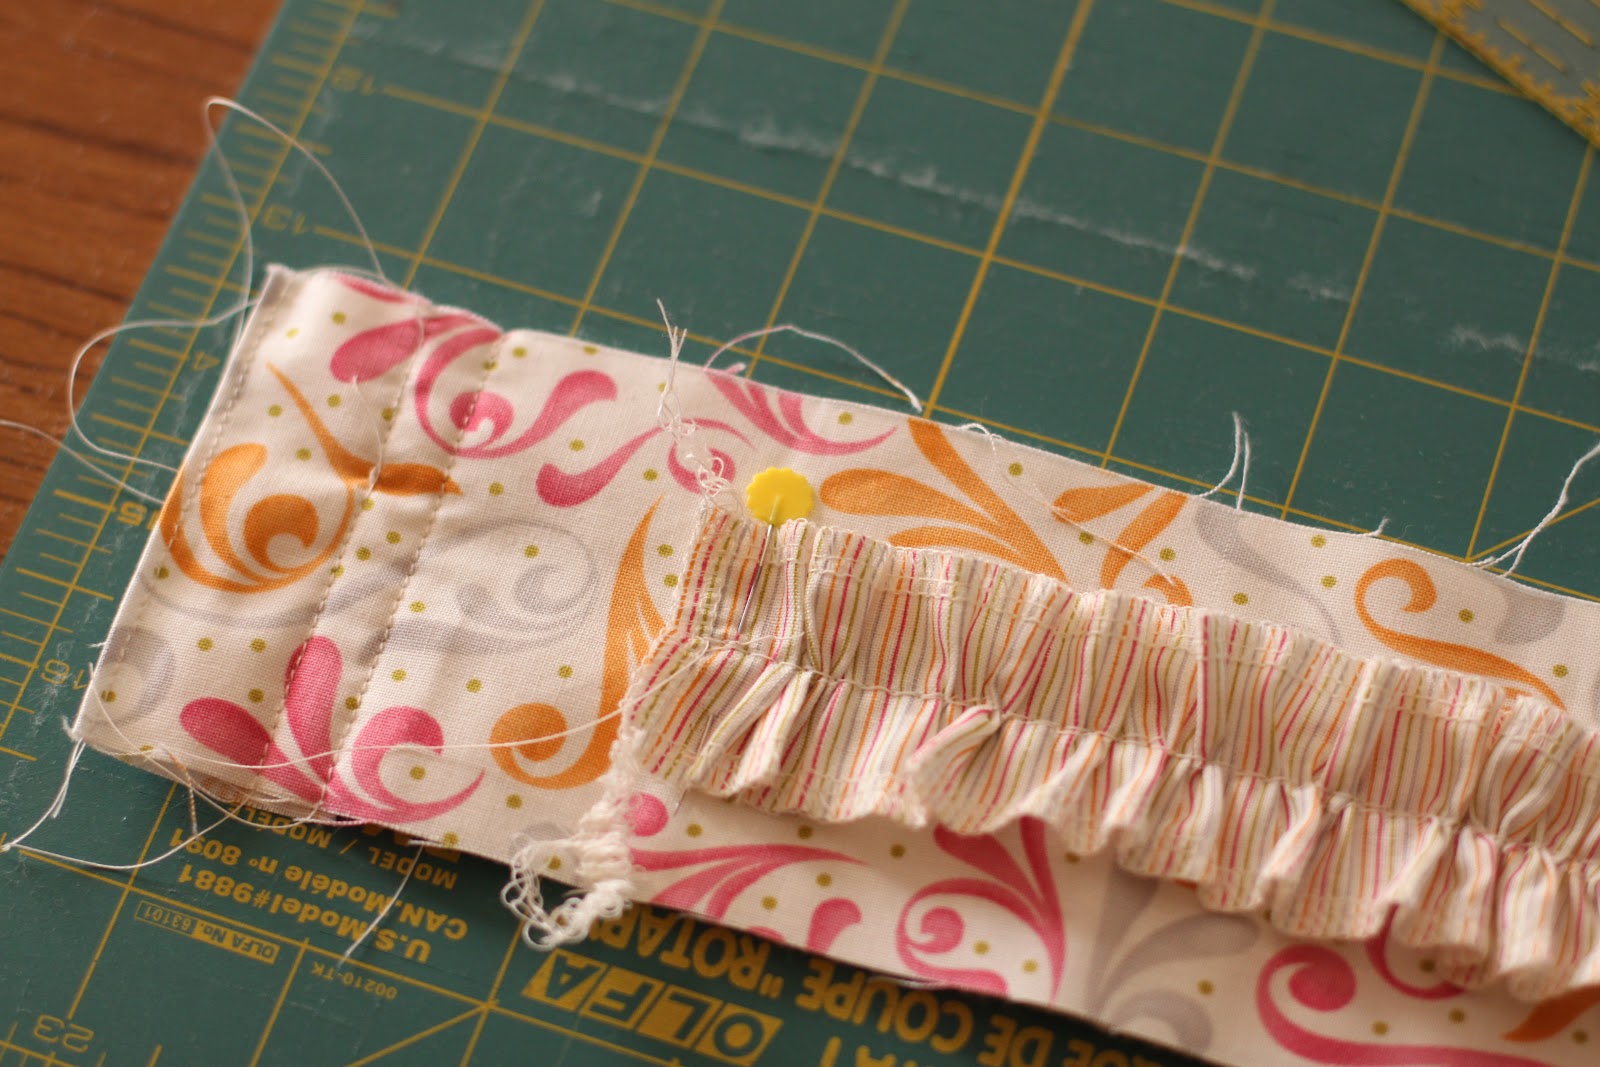
F. Decide placement of the ruffle on one of your straps and pin the ruffle in place (see picture below). Sew in the center of your ruffle to secure to strap.
G. Apply heat using iron to make the highlighter marking disappear.
7. Place right side of fabric together lining up all the fabric and batting edges. The batting should be on the outside at this point.
8. Surge both lengths of the strap thus securing the side together.
9. Turn right side out - I used a dandy tool called Dirtz Quick Turn to make this job much easier.
10. And your done!